Full Disclosure: Synology sent out a unit for review. As usual, they needed to abide by my terms here. Hard Drives, SSD, Ram etc are all self-funded. So rest assured this is a genuine review!
Why a dedicated NAS for home?
I needed a new storage solution
An interesting scenario pop up the other week, kind of a perfect storm of timing. My trusty home lab server was pulling double duty as a home “NAS” with Windows Storage spaces for the longest time. Looking after things like our media library, OneDrive “backup” and a few of my basic virtual machines.
But as part of its life, that poor Windows Server 2016 box has been through a lot, including being a “gaming machine” a 3d printer server, a makeshift Teams Meeting room, and my general goto hub for anything that needed to stay online.
But then came the downfall… You might remember, my Remote Desktop Server got compromised thanks to a stolen password for an old account and the attacker dropped RansomWare on the host.
In the process, I lost a few virtual machines and their backups as I had everything stored on the same host… Sure I’d never tell a customer to do that…
But it was “good enough” for me right?
Sure, until last week I lost another drive to mechanical failure. I’ve always been the type of guy to “keep an eye” on my drives and migrate stuff off them when they started performing slowly, clicking or having CrystalDiskInfo report issues. I had tried using Storage Spaces for drive redundancy previously, but my mix of drives had always led to terrible performance. So I just used deduplication and left it at that. No disk redundancy. Everything important was in the cloud, right?

My “Backup” solution for my cloud services was terrible
In that Ransomware attack, I lost approximately 4TB of data. Poof. Gone. Not worth saving.
But my “backup” solution for my OneDrive actually came back to haunt me. It wasn’t a backup per-se. I was just syncing my entire OneDrive to that host so when the host got infected, so did my entire OneDrive. Thankfully, I’m a paid OneDrive member so I was able to use the Rollback feature to jump back before the infection began and redownload all my files.
As for my home machines, most of my “work” lives in the cloud, but even thats not perfect. A recent build of Edgium corrupted my favourites. So it was nice to be able to restore the database from a Veeam Endpoint Protection snapshot (free)
But, but, FreeNAS! and ZFS!!11
Yes, I hear you already! In fact, I was having the exact same discussion with a team member looking to grab a DS220 and instantly tried to rebut with a FreeNAS based system thanks to watching my fair share of Linus Tech Tips

And yes, even for the DS220 and DS920+ (used here) I can smash the raw hardware spec with an AMD Ryzen based system.

But with a “Roll your own NAS” solution typically comes many disadvantages;
- No front-loaded drives
- No hot-swap support
- No LED’s to indicate what drive is the failing drive
- No LED’s to indicate when its safe to remove a drive
- Not many apps on the FreeNAS store
- Lots of fiddling behind the scenes to expand or change the array
- It’s bigger, louder and uses at least twice as much power.

Then my Boss (and ex-MVP) Tatham reminded me of a very important part. The software…
The Software
Let’s not beat around the bush. FreeNAS has some great software and some great community support. But it’s really only supposed to be bulk storage with maybe a Plex server on it unless you really want to get tinkering.

Taking a look at the FreeNAS Plugin-in library, it’s pretty sparse with only 8 plugins. Don’t get me wrong, FreeNAS has some great OS separation features (Jails, Virtual Machines) allowing you to roll your own again if you have the time and the patience.
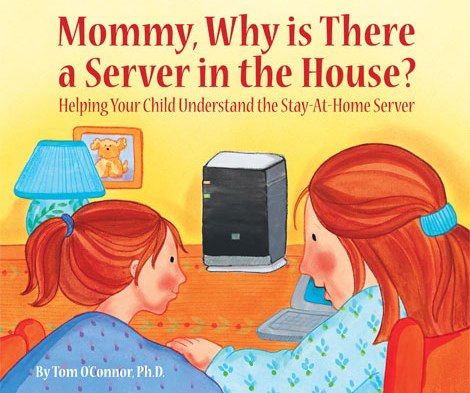
Whilst the Synology solution is more akin to what Microsoft was trying to achieve back in 2007 with their “Stay at Home Server” concept, with tons of features working out of the box and a package repository with 123 packages at the time of writing.
The NAS itself
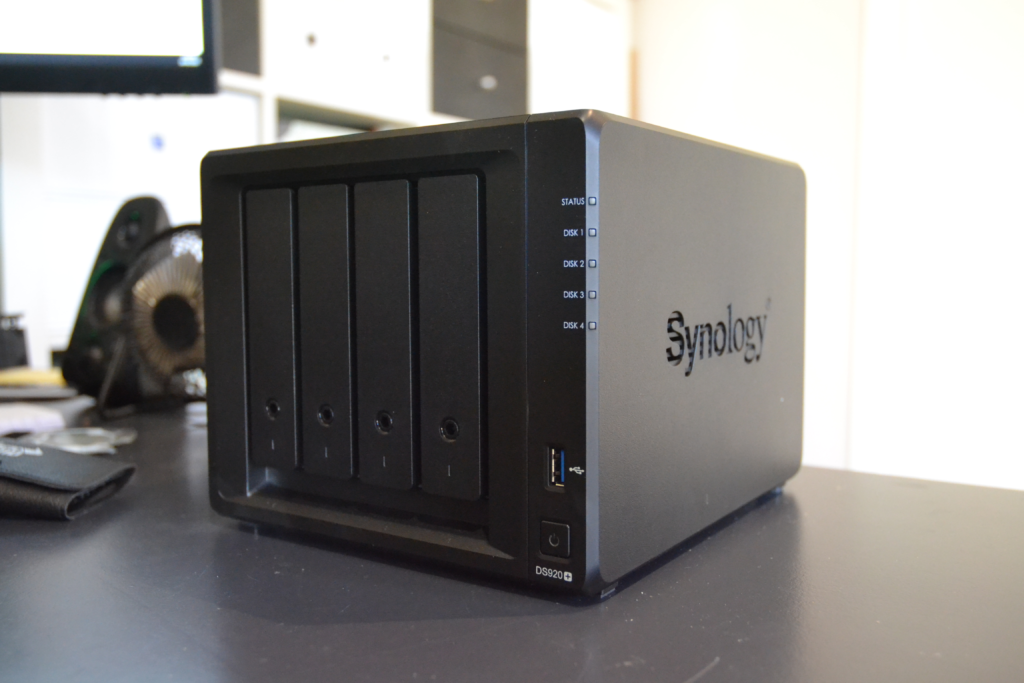
The NAS out of the box comes with a pretty reasonable spec for a pre-built unit, with a 4 core Celeron J4125. A late 2019 14nm 10W TDP Gemini Lake processor from intel. This processor is designed for low power consumption and more importantly low heat to reduce the need for massive heatsinks.
The good thing about these new CPU’s is they are a new version of silicone that doesn’t suffer the same issues as the older Celeron J3455E and Atom 2000 CPU’s found in the older NAS products. (Dave Jones has a fix for that here)

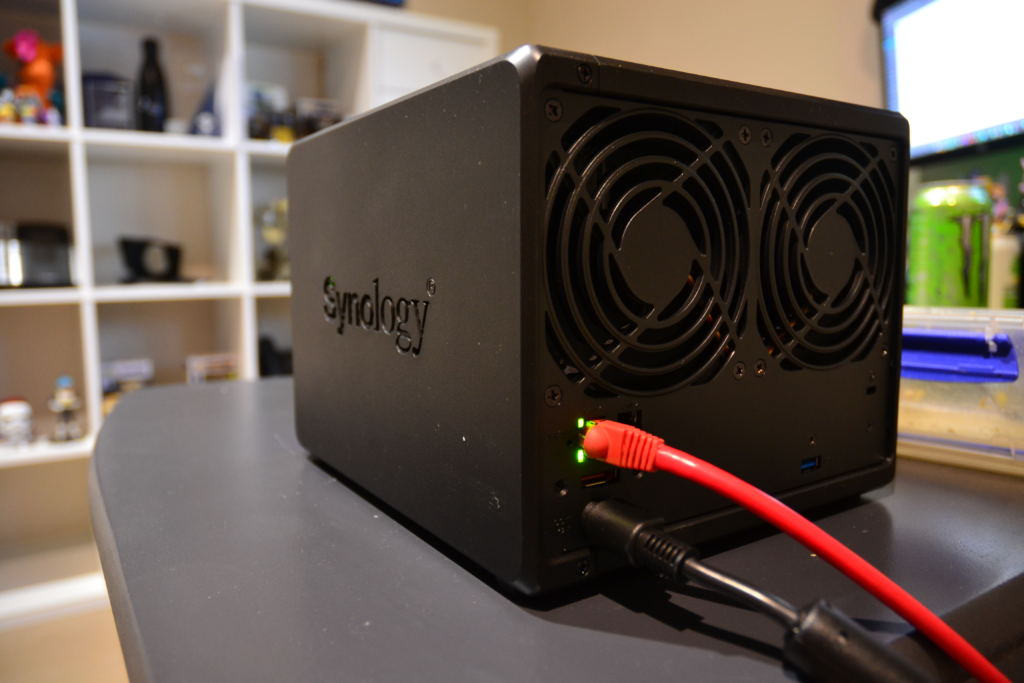
Only having 2x 1Gig Ethernet interfaces might be a downer for some as people are moving to 10Gbe. But for its main use case, which is backing up my Office365 Tenant, we are going to be limited by my 100Mbit internet connection anyway. So Gigabit will be fine.
Sourcing Drives – A warning
Now, I’d normally recommend sourcing some dedicated NAS drives like the Seagate IronWolf series due to the inbuilt vibration sensors, the assurance they are not using SMR and that they are designed to live in an enclosure together with each other. After finding some good deals on Amazon for some with long shipping times, a friend reached out who had some credit at OfficeWorks that doing it tough due to the Rona. So instead got them to order me some Seagate Expansion Drives gave them the cash to try and help out. #Winning

These drives were “Shucked” as their storage to price ratio is quite high and the disk inside is SATA. Before we get started though it pays to test all the drives and ensure they are performing as expected BEFORE pulling them apart.
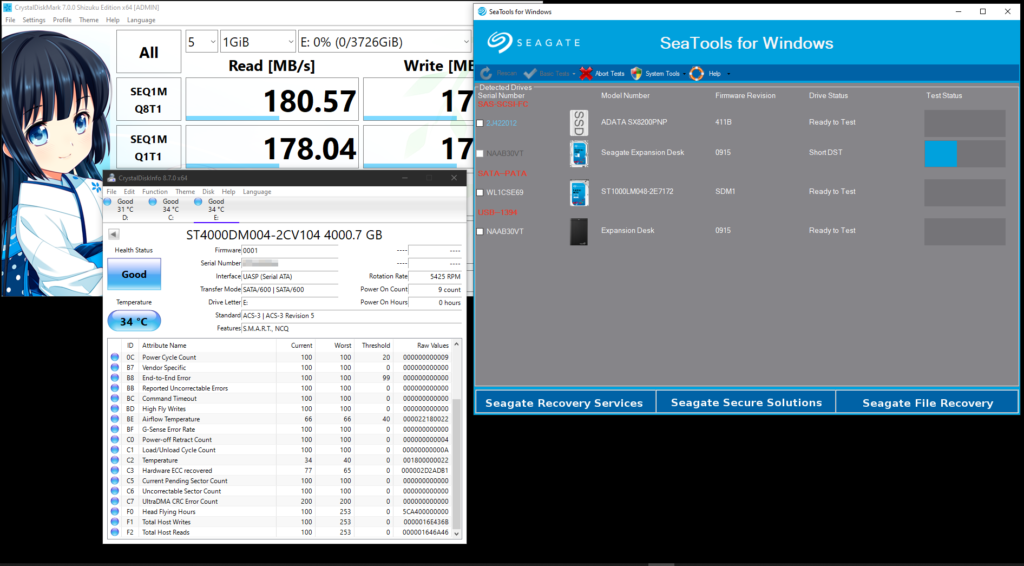
Then we begin the labourious task of pulling the drives out of their prisions.

Unfortunately, after pulling the disks, I see they are all SMR drives, which is terrible for use on a ZFS (FreeNAS) based system. However, as I’ll be using Synology’s “SHR” (Synology Hybrid Raid) which has no issue with SMR there is no need for concern. Instead, I’ll just install an SSD cache to help out.

Upgrades!
After unboxing the unit and shucking the drives, I installed some extra DDR4 2666 RAM in the easily accessible slot hidden inside the NAS to the right of drive 4. No tools required.
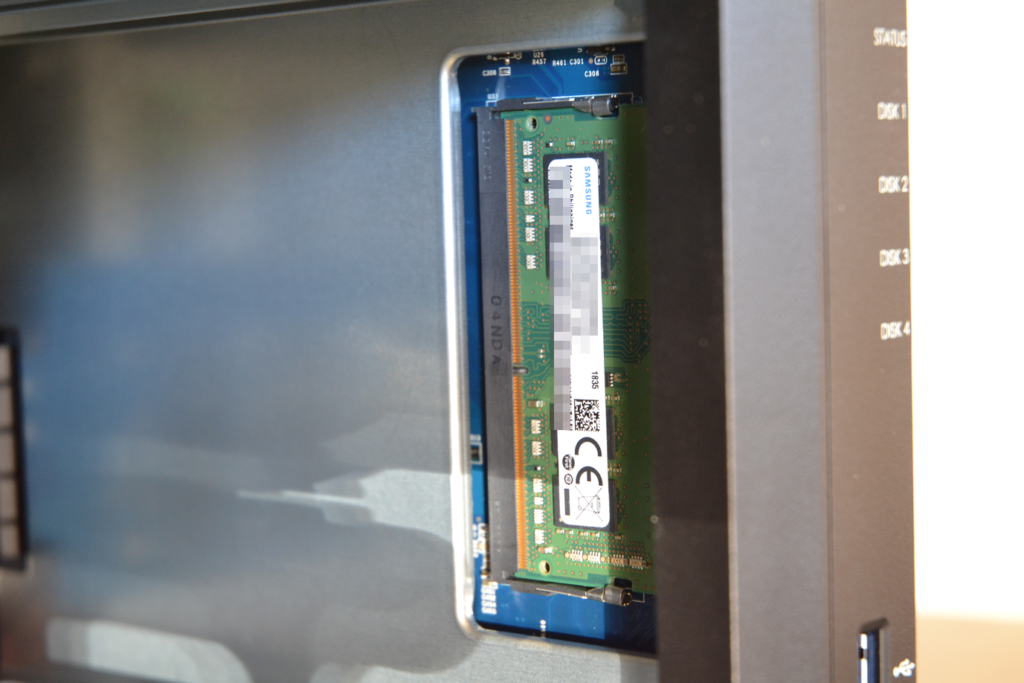
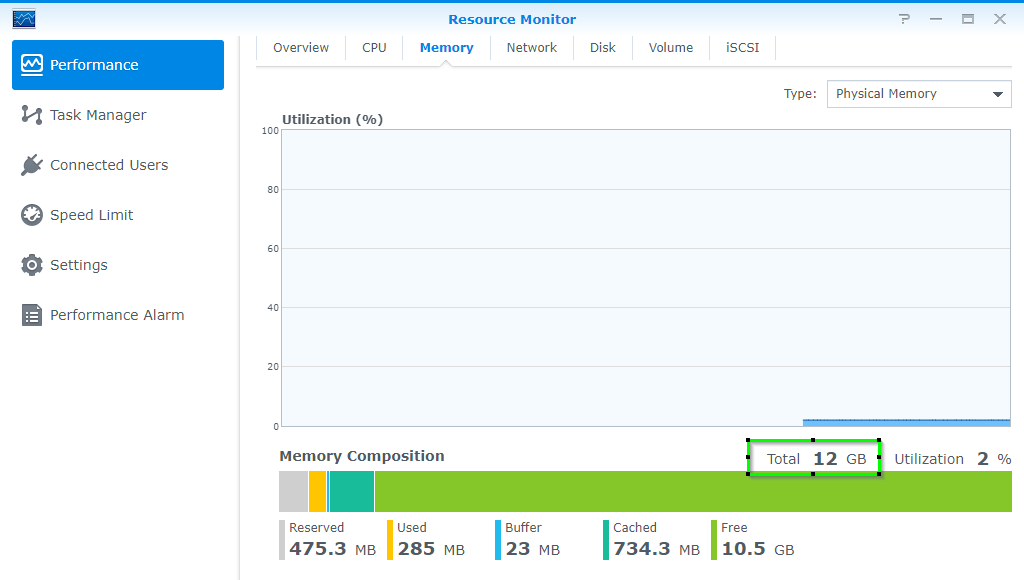
The CPU officially only supports 8GB of ram. But just like HP Microservers of old, you can usually get more in there. I’ve got an additional 8GB on top of the included 4GB for a total of 12GB.
Note: Using anything other than Synology branded RAM will invalidate your support. (see here) So use genuine RAM if its a production box!

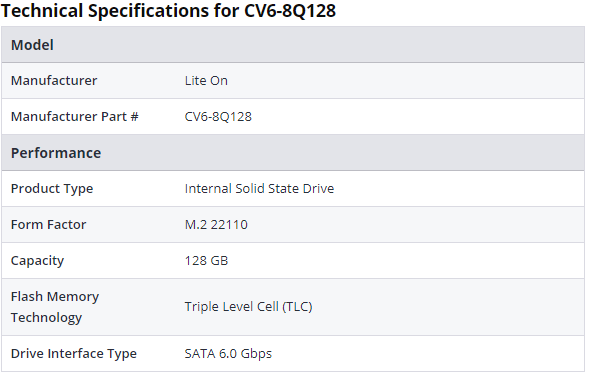
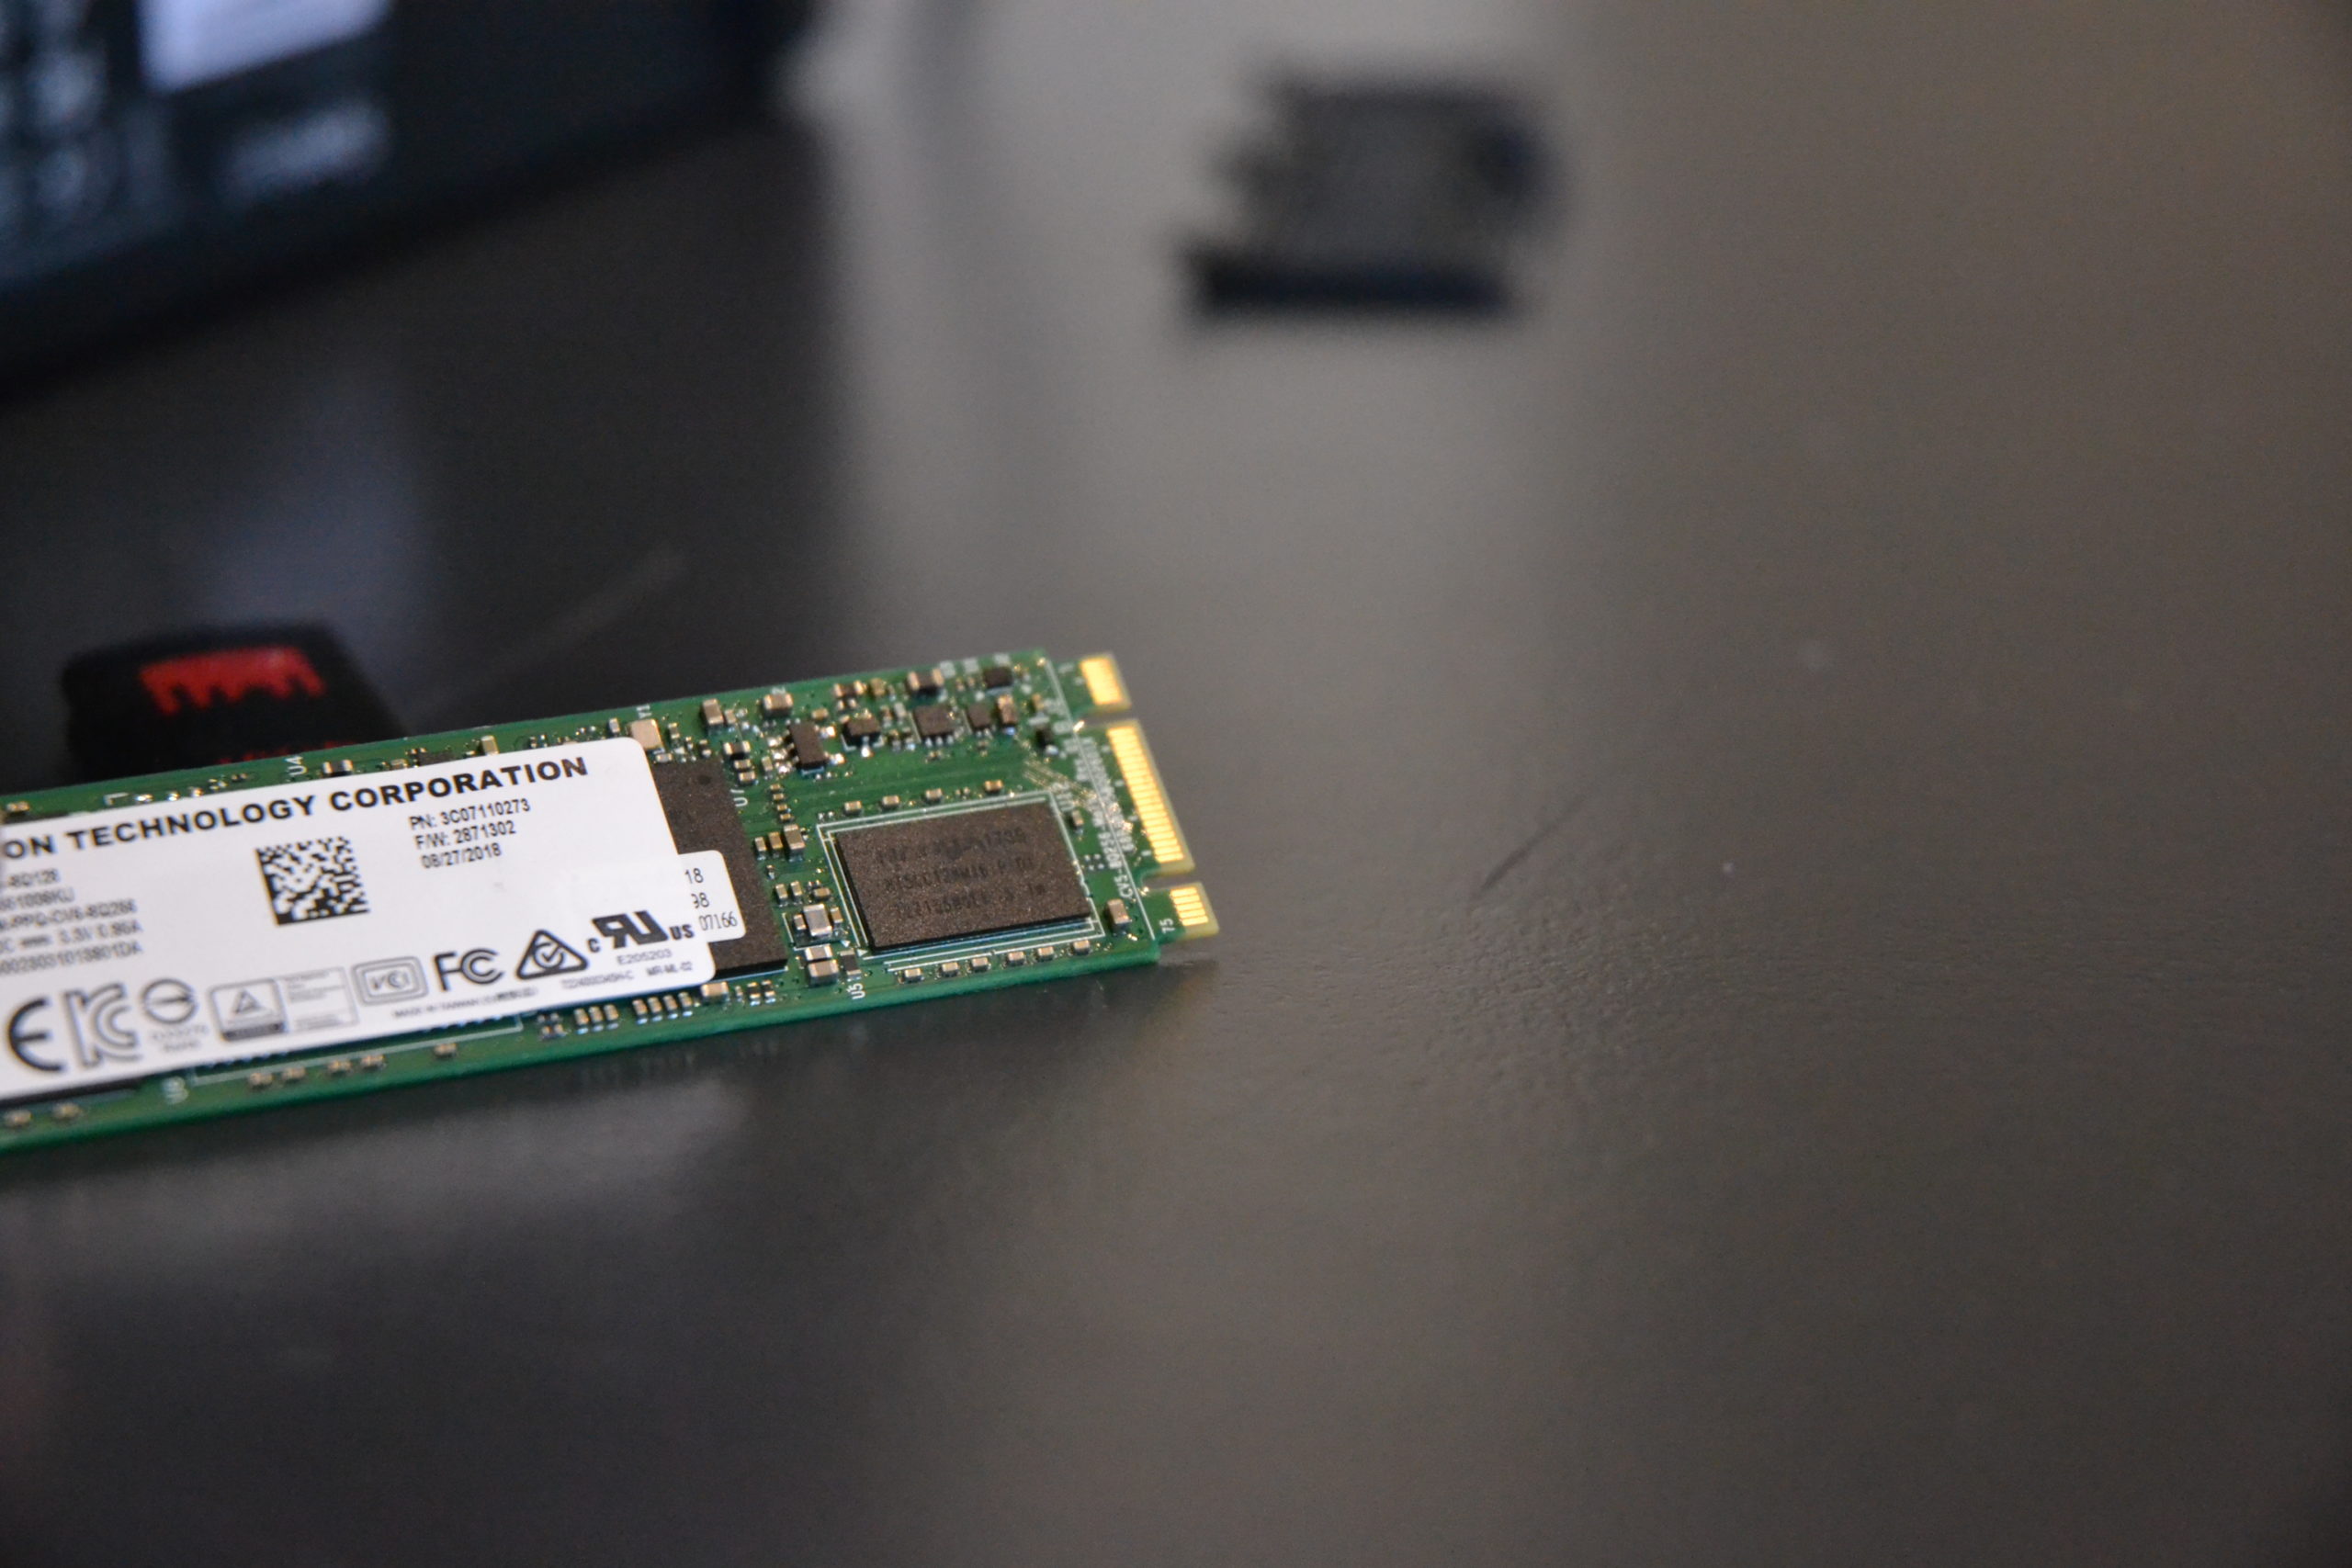
Additionally, I installed a 128GB SSD in one of the 2 dedicated bays (that I thought was NVMe, see below) underneath. Again no tools, the M.2 2280 SSD is held in place with a clip instead of the traditional screw.
I’ll probably add another SSD at a later date for VM and Container storage.

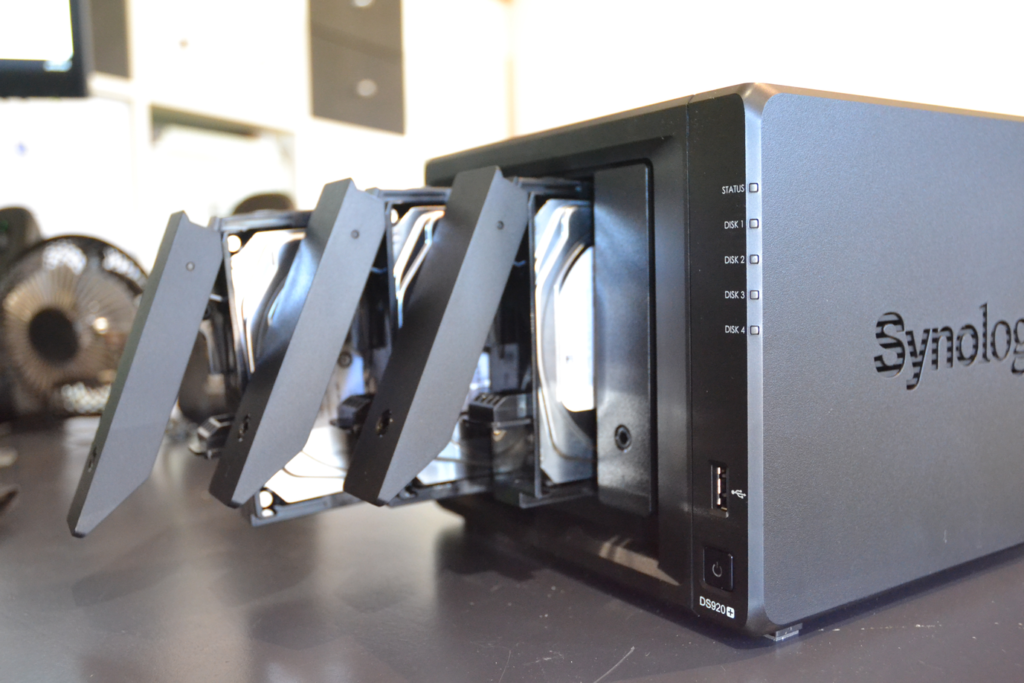
Once more, drive installation is tool less. With plastic “sleds with pegs” that detach from the drive caddies to allow you to install the drive and snap back in with the pegs locating in the 3.5″ drives factory screw holes.
Synology also includes screws for 2.5″ drives as well if you were to populate your NAS with SSD’s
Initial Setup
With everything installed, its time to power the unit up and head over to “http://synologynas:5000/” to start configuring the unit.

Firstly the unit asks to update itself, which was as easy as clicking Install Now and accepting the warning that it will erase the installed hard drives.
The installer states the setup would take ~10 Minutes, but mine was ready in about 5 due to a reasonably quick download. However, your mileage may vary.
Once my unit rebooted, it asked for an inital hostname, account and password.
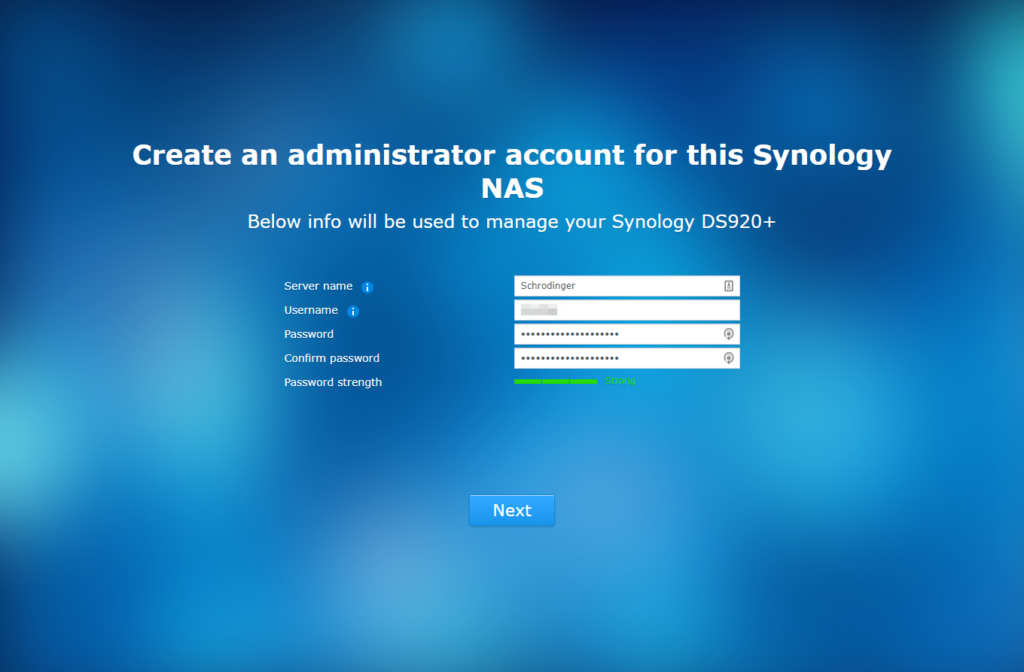
And before anyone asks, no I didn’t name it after a pony. All my home infrastructure is actually named after Nekomimi. Hence Schrodinger from Hellsing.
The next step was to set up a QuickConnect ID. This wasn’t required to continue with the setup of the NAS, but I figured I’d give a shot for the review. Filling in the usual details and accepting the legal stuff I was presented with my own easy little URL based on my username that was super easy to remember. Neat.
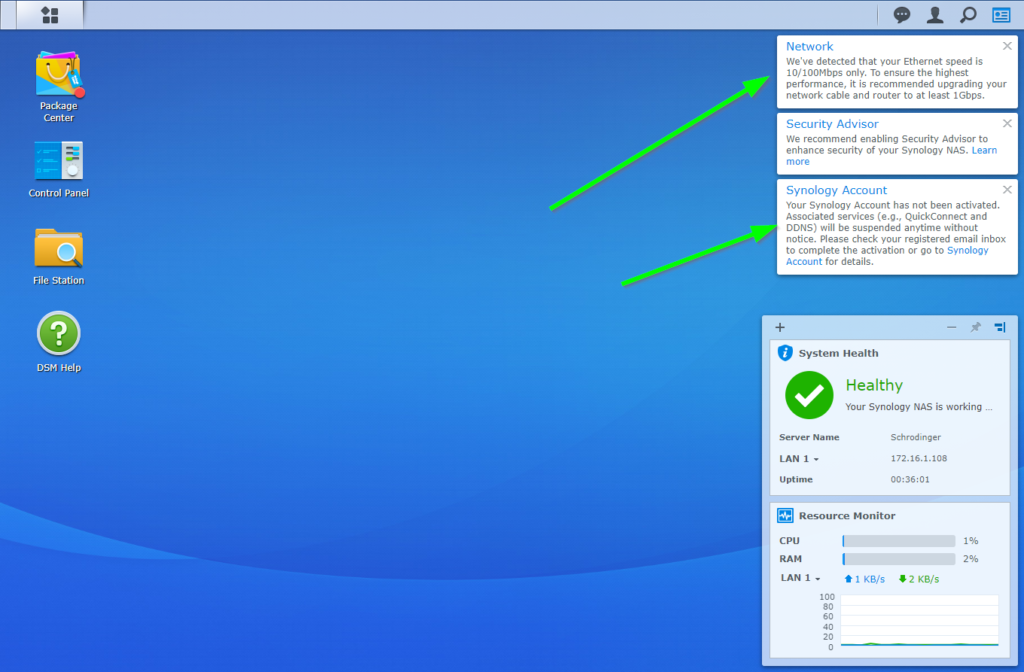
DSM then took me through a quick tour of its interface as well as warning me about things like only being connected to a 100Mbit ethernet port and that my account wasn’t activated.
Configuring the base unit
My first port of call was to check that the hard drives, SSD and RAM were all detected successfully and to configure the storage.
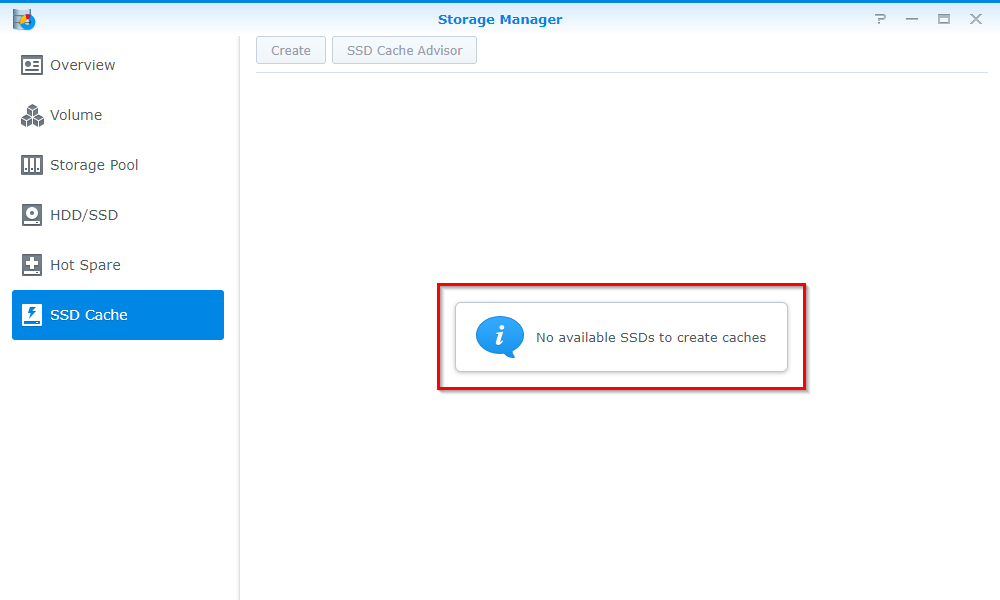
It successfully found all 3 drives and the extra RAM, but my SSD didn’t show up.
Had I read the SSD specs properly, I would have noted that this SSD in question was a SATA SSD, not NVMe, which the dedicated ports on the bottom only accept. The dead giveaway is that this SSD is B+M keyed (2 slots), whereas NVMe SSD’s are typically only M keyed (1 slot)

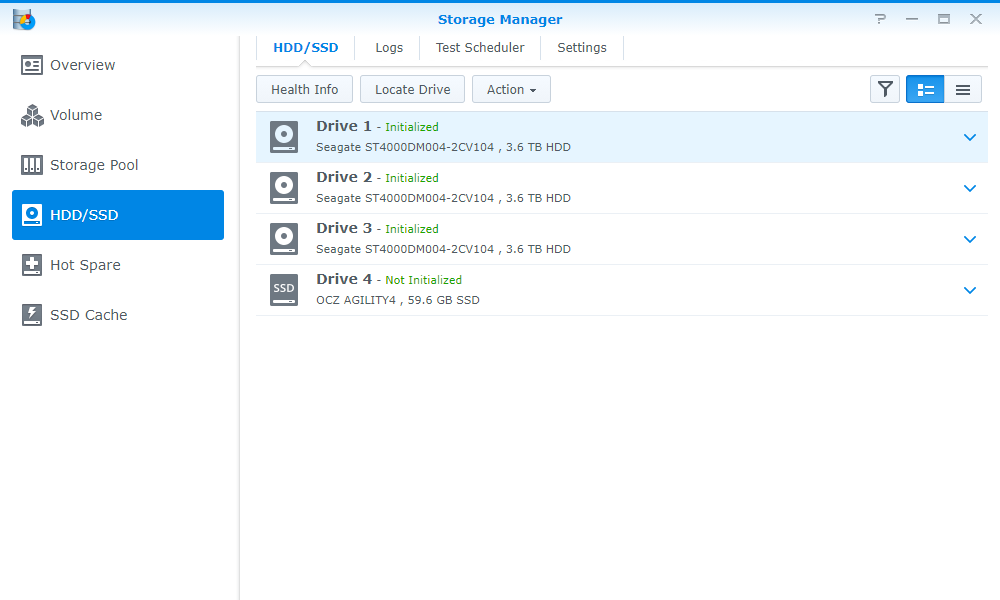
So for the meantime, I installed a 2.5inch SSD in the 4th hard drive bay whilst I wait for the 4th HDD and replacement SSD.
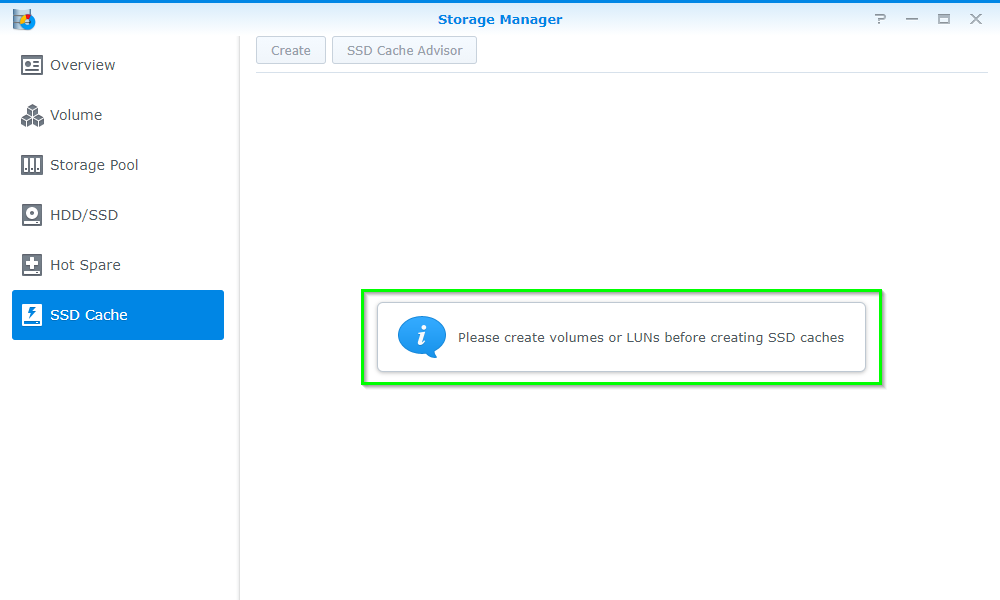
Upon booting the device up again, I can see it has correctly detected the SSD and is now prompting me to set up my storage before configuring caching.
A little bit later whilst I was setting up Apps. I could see the SSD caching in action.

Storage Configuration
Configuring RAID
In DSM, I headed over to Storage Manager > Storage Pool and clicked Create to configure a new Storage Pool
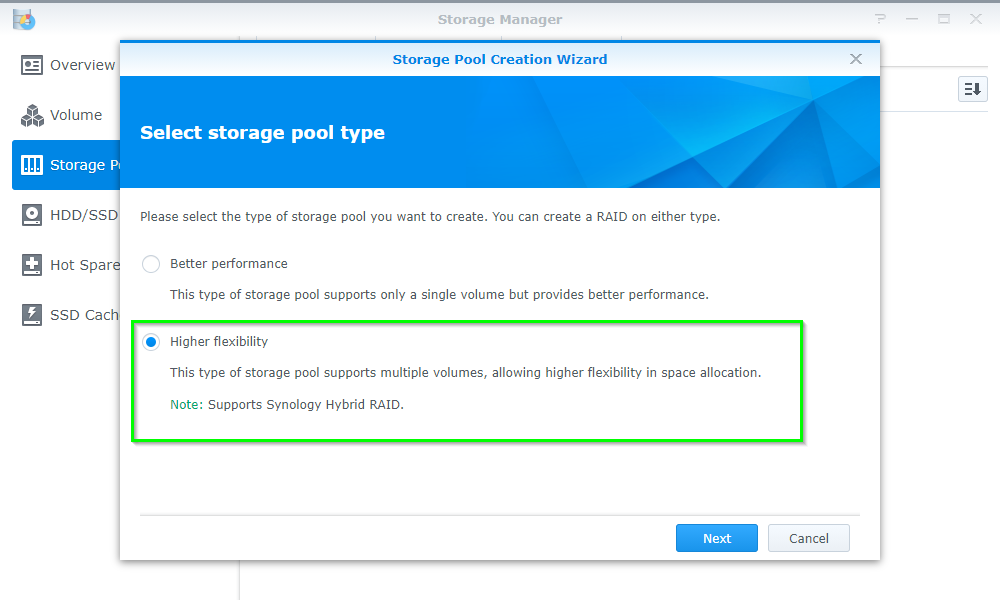
- As part of the Pool Setup I opted to select Higher Flexibility to enable SHR for simpler pool expansion and different size hard drives in the future
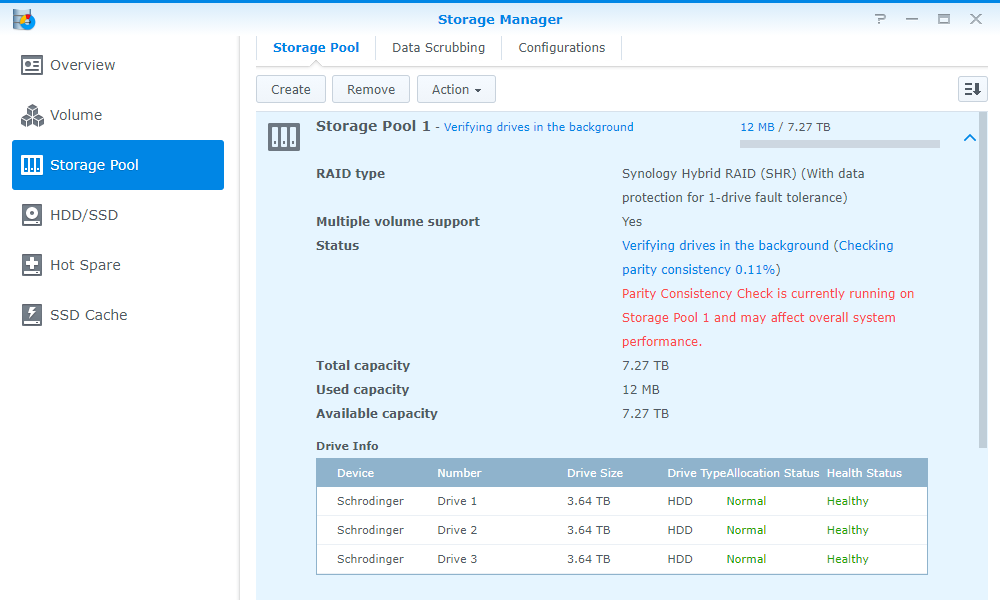
- I then selected SHR to allow for the planned expansion when the new drives arrived.
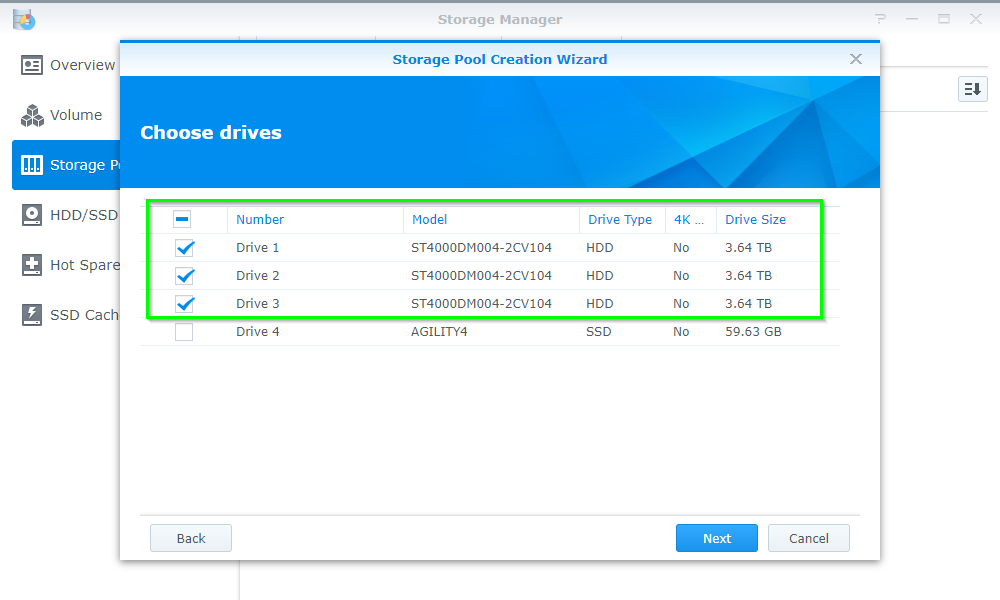
- DSM automatically selected all the spinning disks, so all I had to do was click next and accept the warning about erasing data
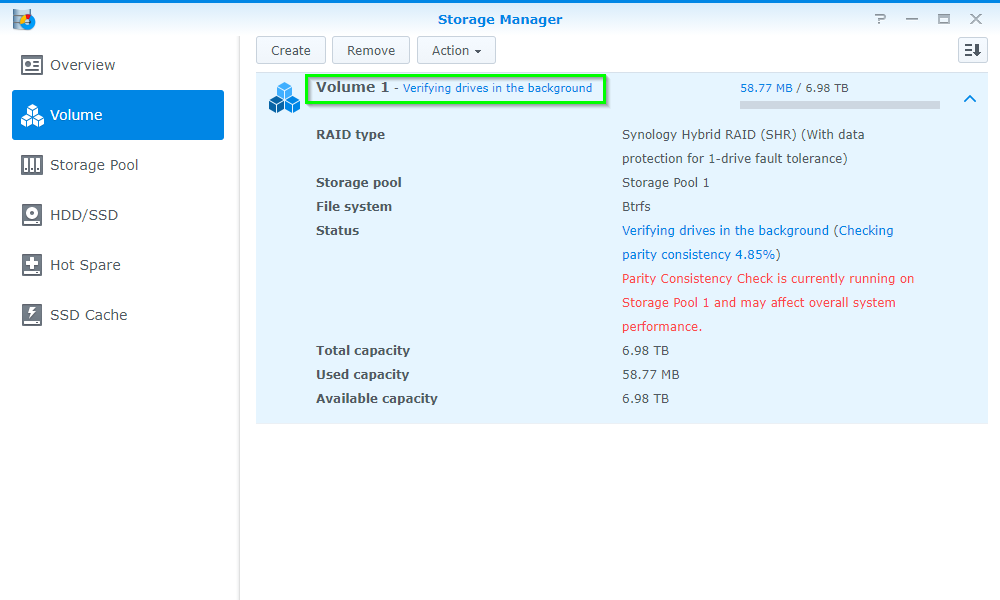
- Once the wizard completed. the NAS started checking the disks in the background. so I created the new volume
Setting up a Volume
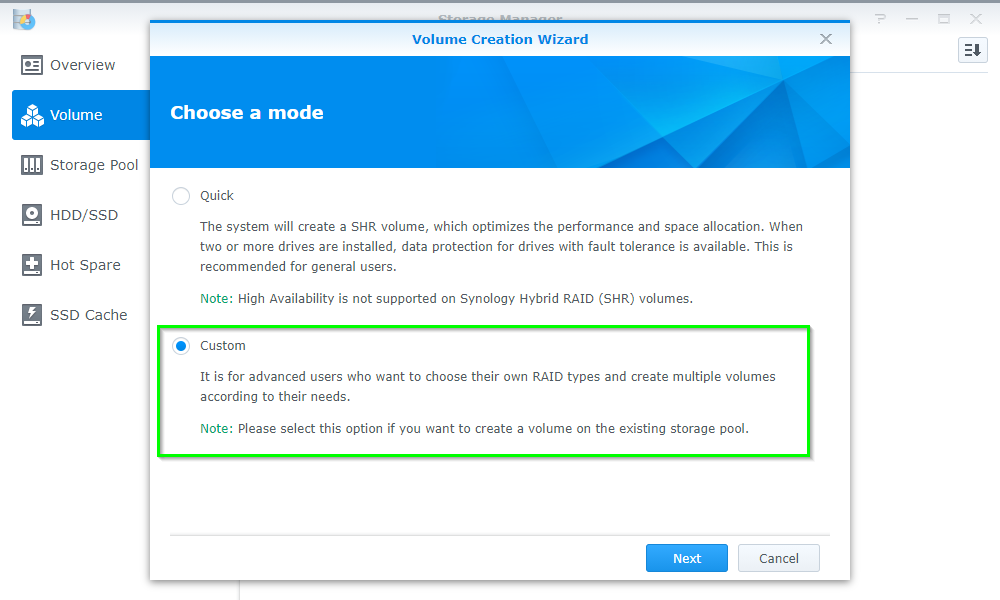
This time in Storage Manager I selected Volume and clicked Create to make a new Volume and followed the wizard.
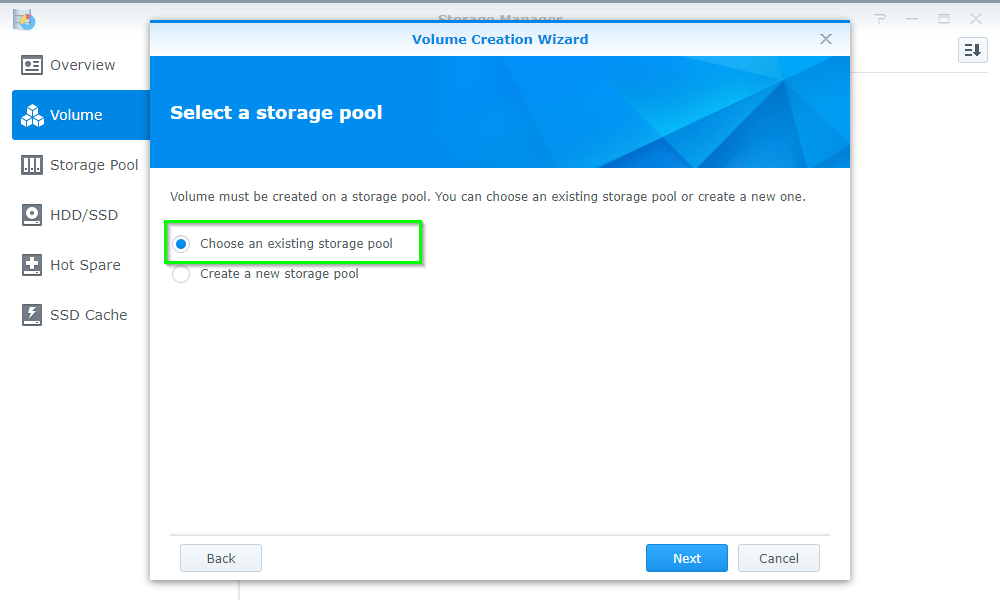
- As I had already built the storage pool, I needed to select Custom here, and select an existing storage pool
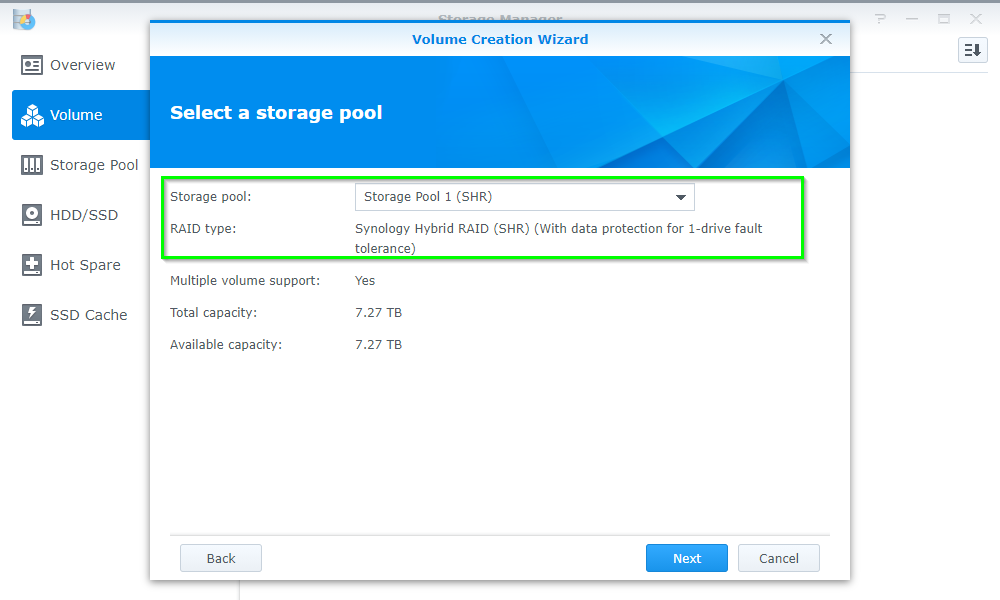
- I then selected the existing SHR disk pool and clicked Next
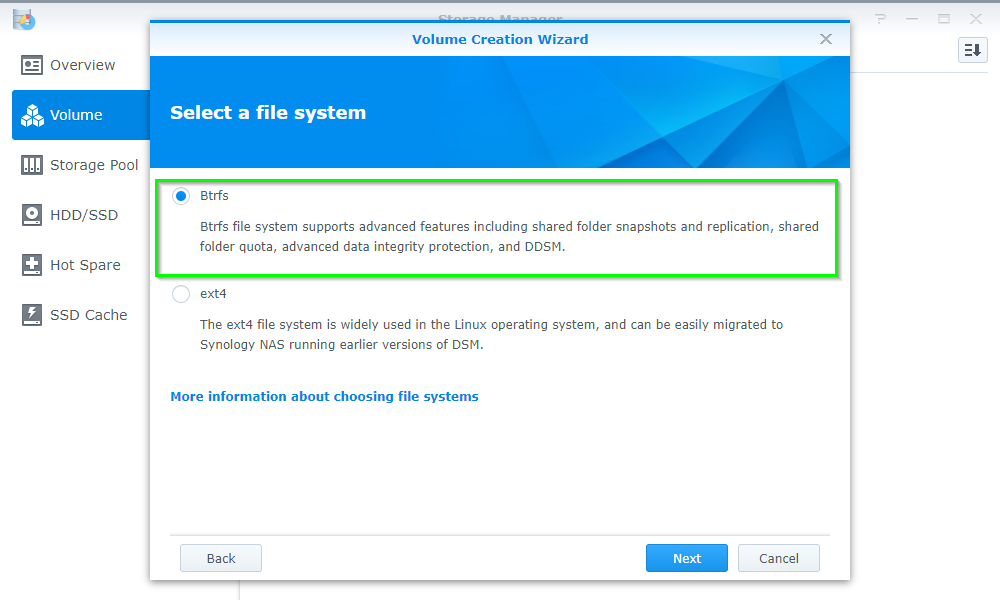
- For File System I ended up going with Btrfs (Butter-Fuss) due to its self-healing properties. This might not be the best idea with SMR drives, but we can always test it!
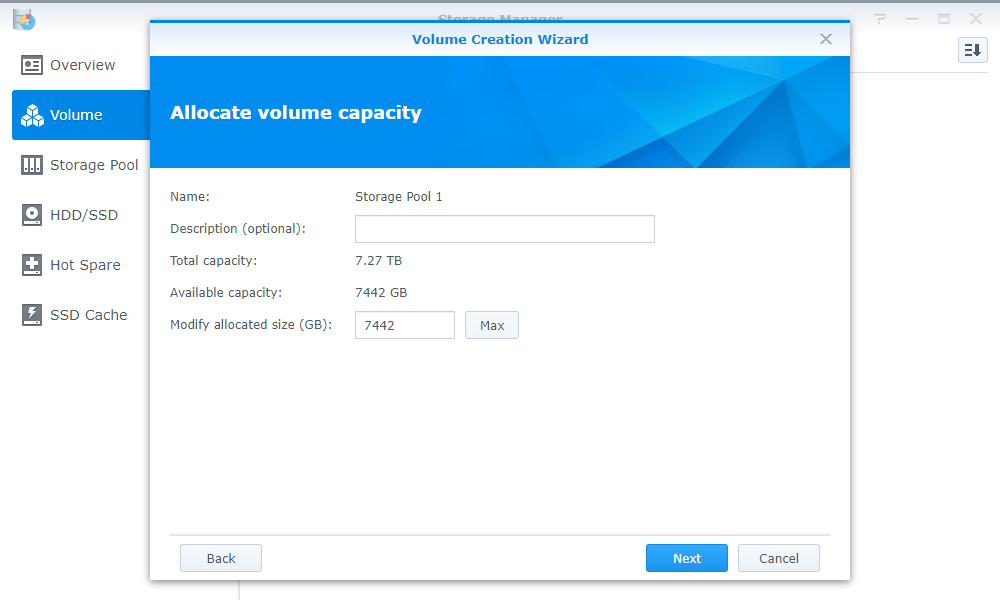
- All that was left was to allocate the space (all of it) and confim the settings
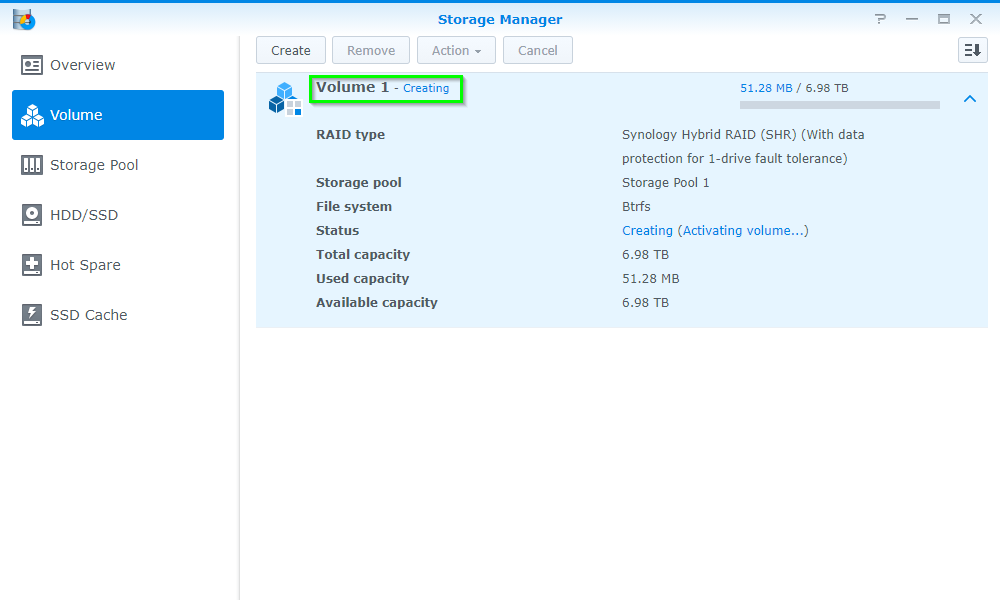
- The NAS started building the array and it was accessible within minutes
Configuring SSD Caching
As I alluded too before, I wanted the option to use SSD caching with the NAS as I intended to migrate more of my small container services over to the NAS from my Windows Server.
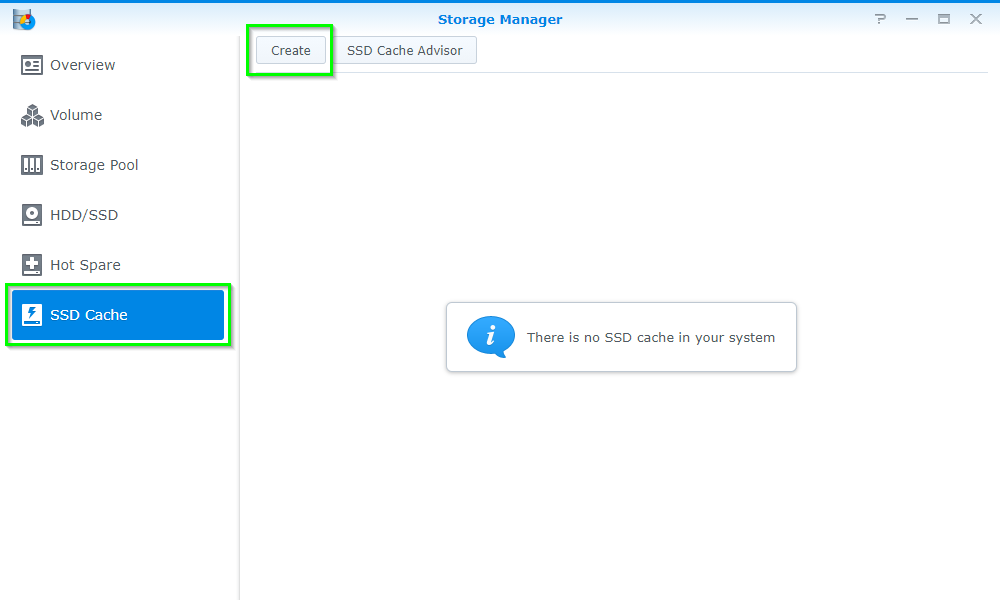
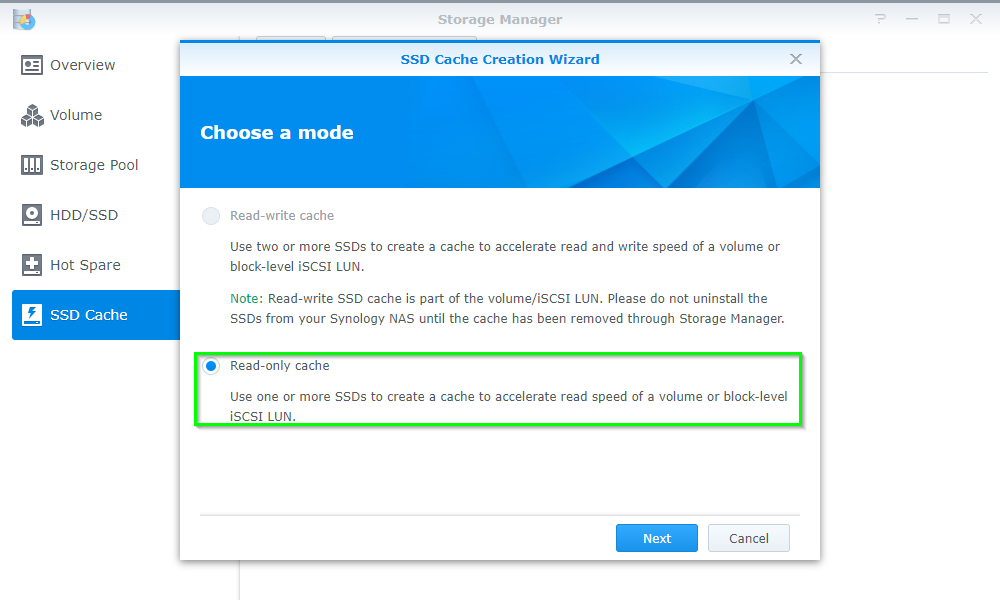
- In Storage Manager head to SSD Cache and click Create
- as I only have the one SSD in here, I ended up going with a Read-Only cache
- I select the relevant drive, (in this case the 2.5 inch SSD)
- Left the SSD Caching settings alone and clicked Apply accepting the warning about losing data on the SSD
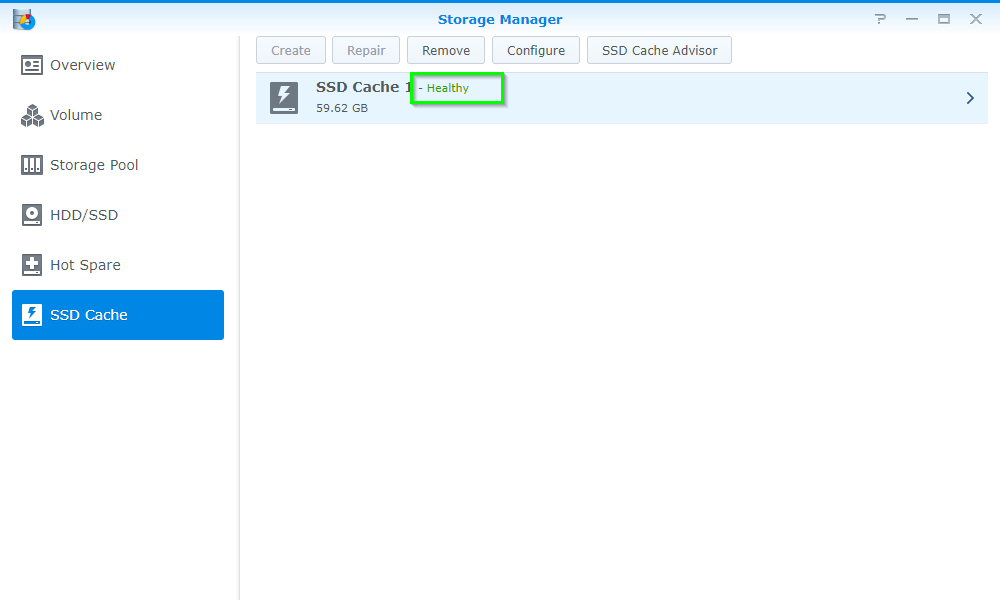
- The NAS then began mounting the SSD to the Array, this took less than a minute
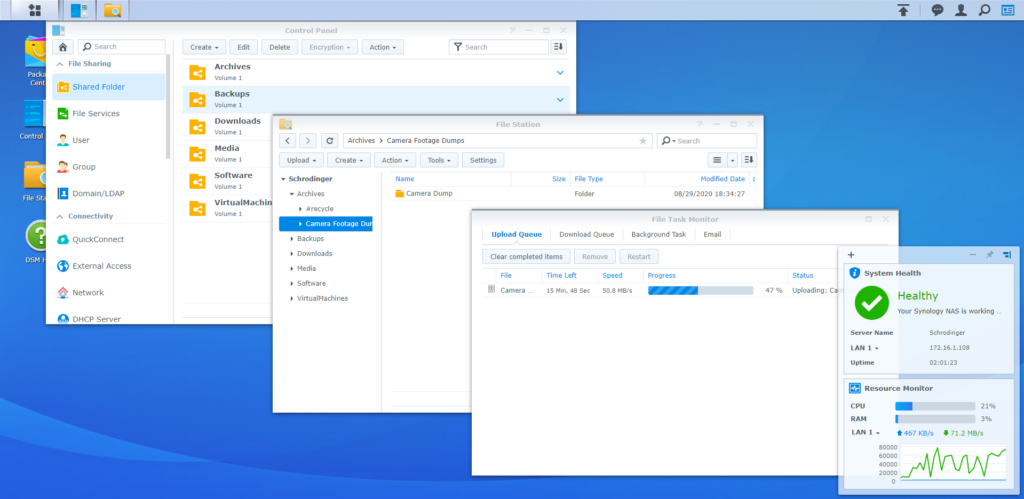
With that all done, I set about to creating some Shared Folders and quickly putting some scratch data on the drives. It was nice to see that I can simply drag and drop files using the web interface and have it “just work”. It even managed to keep the file transfer going despite me unplugging the ethernet and moving to another switch to get full 1Gbps!
Conclusion
I’ll be going more in-depth on the unit in my next article in how I use it to backup my infrastructure. Including my Office 365 tenant and personal OneDrive in a more meaningful way than the mess I was doing previously.
Not to mention that Active Backup for Office 365 is free in the app repository!

Anyway, until next time!
Revision History
August 29 2020: Initial Post
February 1st 2021: Replaced images linked to OneDrive by mistake, added warning about non-genuine ram.













Pingback: Backing up my Cloud services including Microsoft 365 with a Synology NAS for "Free" - UcMadScientist.com